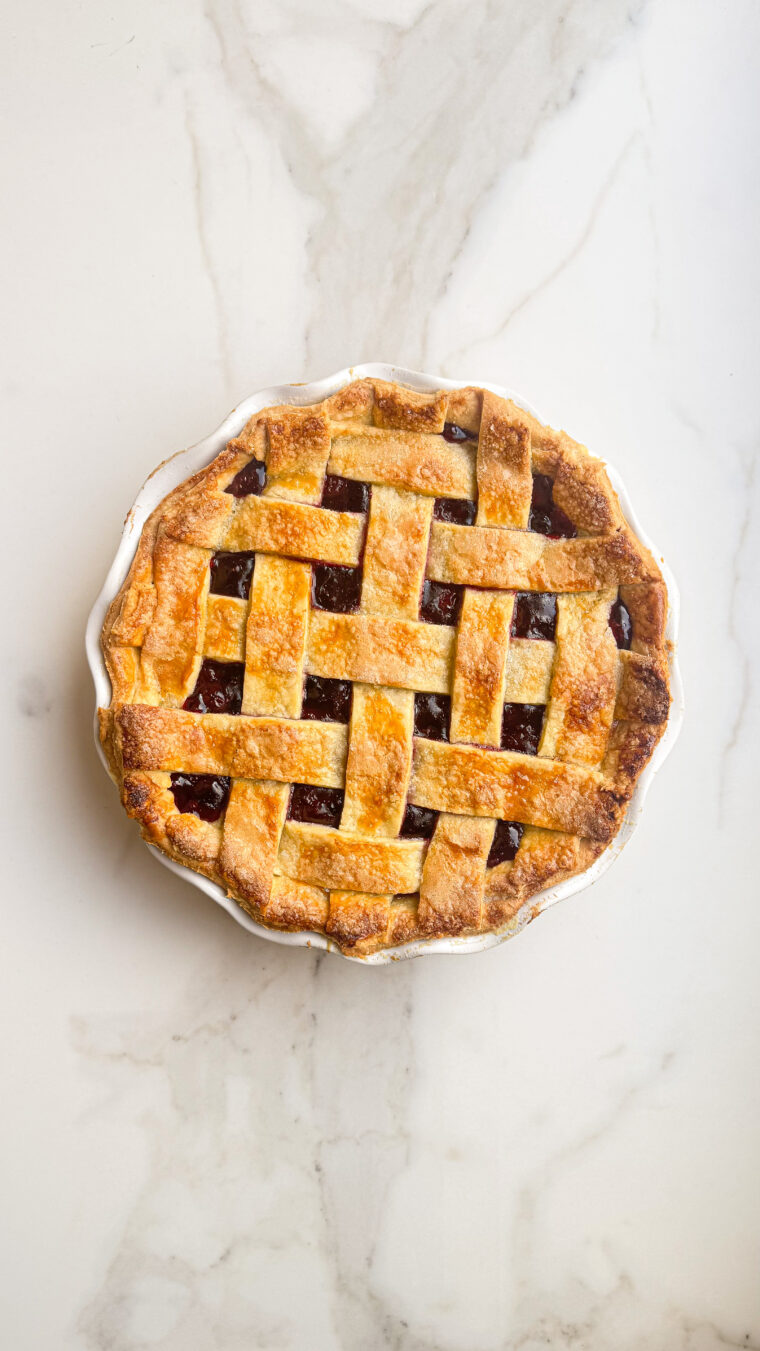
There is something so nostalgic about baking a pie from scratch. The buttery pastry, fruit bubbling away in the oven and that moment when you cut into the golden crust to reveal the filling underneath. It is the kind of baking that makes the whole house feel warm and inviting.
This Cherry Pie is one of those recipes that looks impressive but is actually quite simple once you break it down. The filling is made with cherries, a little lemon and just a hint of almond, which I love because it naturally complements the flavour of the fruit without overpowering it.
But for me, the real secret to a beautiful pie is the pastry.
I make my pie dough in a food processor, which makes the whole process incredibly quick and easy. The most important thing is to keep everything as cold as possible. Those little pieces of cold butter dispersed throughout the dough are what create the beautiful flaky layers as the pastry bakes.
One of my favourite tricks is to cut the butter into cubes and place it in the freezer for about 10 minutes before making the dough. I also put the food processor blade in the freezer for 10–20 minutes. It might seem like a small extra step, but keeping the blade cold prevents the butter from warming too quickly while the dough is being mixed.
And perhaps that is part of what I love about baking pies. They ask you not to rush. You prepare the dough, let it rest, roll it out, fill it and wait while it turns golden in the oven. Then you have to wait again before slicing into it.
Sometimes the anticipation is part of the joy.
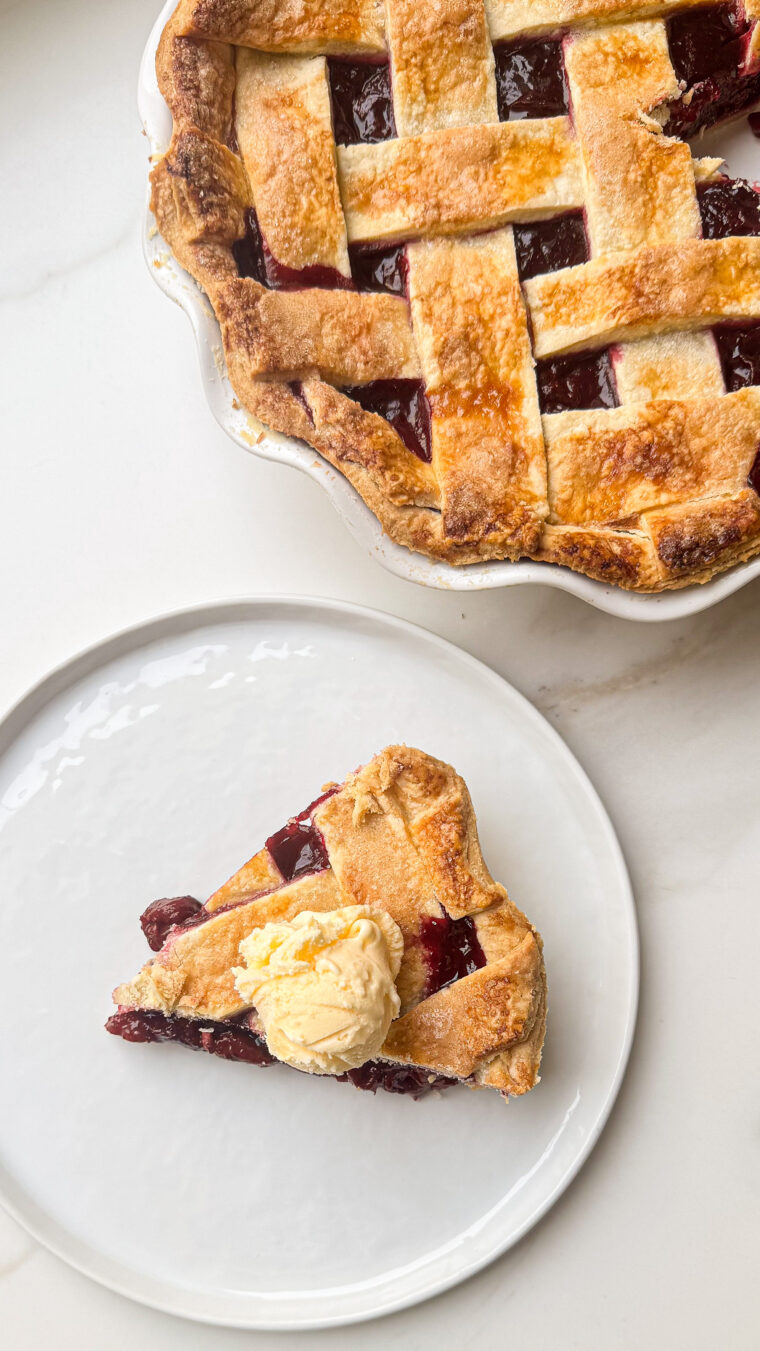
Serve this Cherry Pie slightly warm or at room temperature with a generous scoop of vanilla ice cream. It is simple, comforting and the kind of dessert that is always worth making from scratch.
Ingredients Used for Cherry Pie
Pie Crust:
All-purpose flour: Provides the structure for the pastry. Measure accurately and avoid adding too much additional flour while rolling, as this can make the crust dry or tough.
Granulated sugar: A small amount of sugar in the pastry adds subtle sweetness and helps with browning. More sugar is used in the cherry filling to balance the natural tartness of the fruit.
Salt: Essential for balancing the pastry and bringing out the flavour of the butter.
Unsalted butter: Creates richness and, importantly, the flaky layers in the pastry. The butter needs to remain very cold so that small pieces stay intact within the dough. As the pie bakes, the water in the butter turns to steam, helping create flaky layers.
Ice-cold water: Hydrates the flour enough for the dough to come together. Use only as much as needed; too much water can make the pastry tougher.
Cherry Filling:
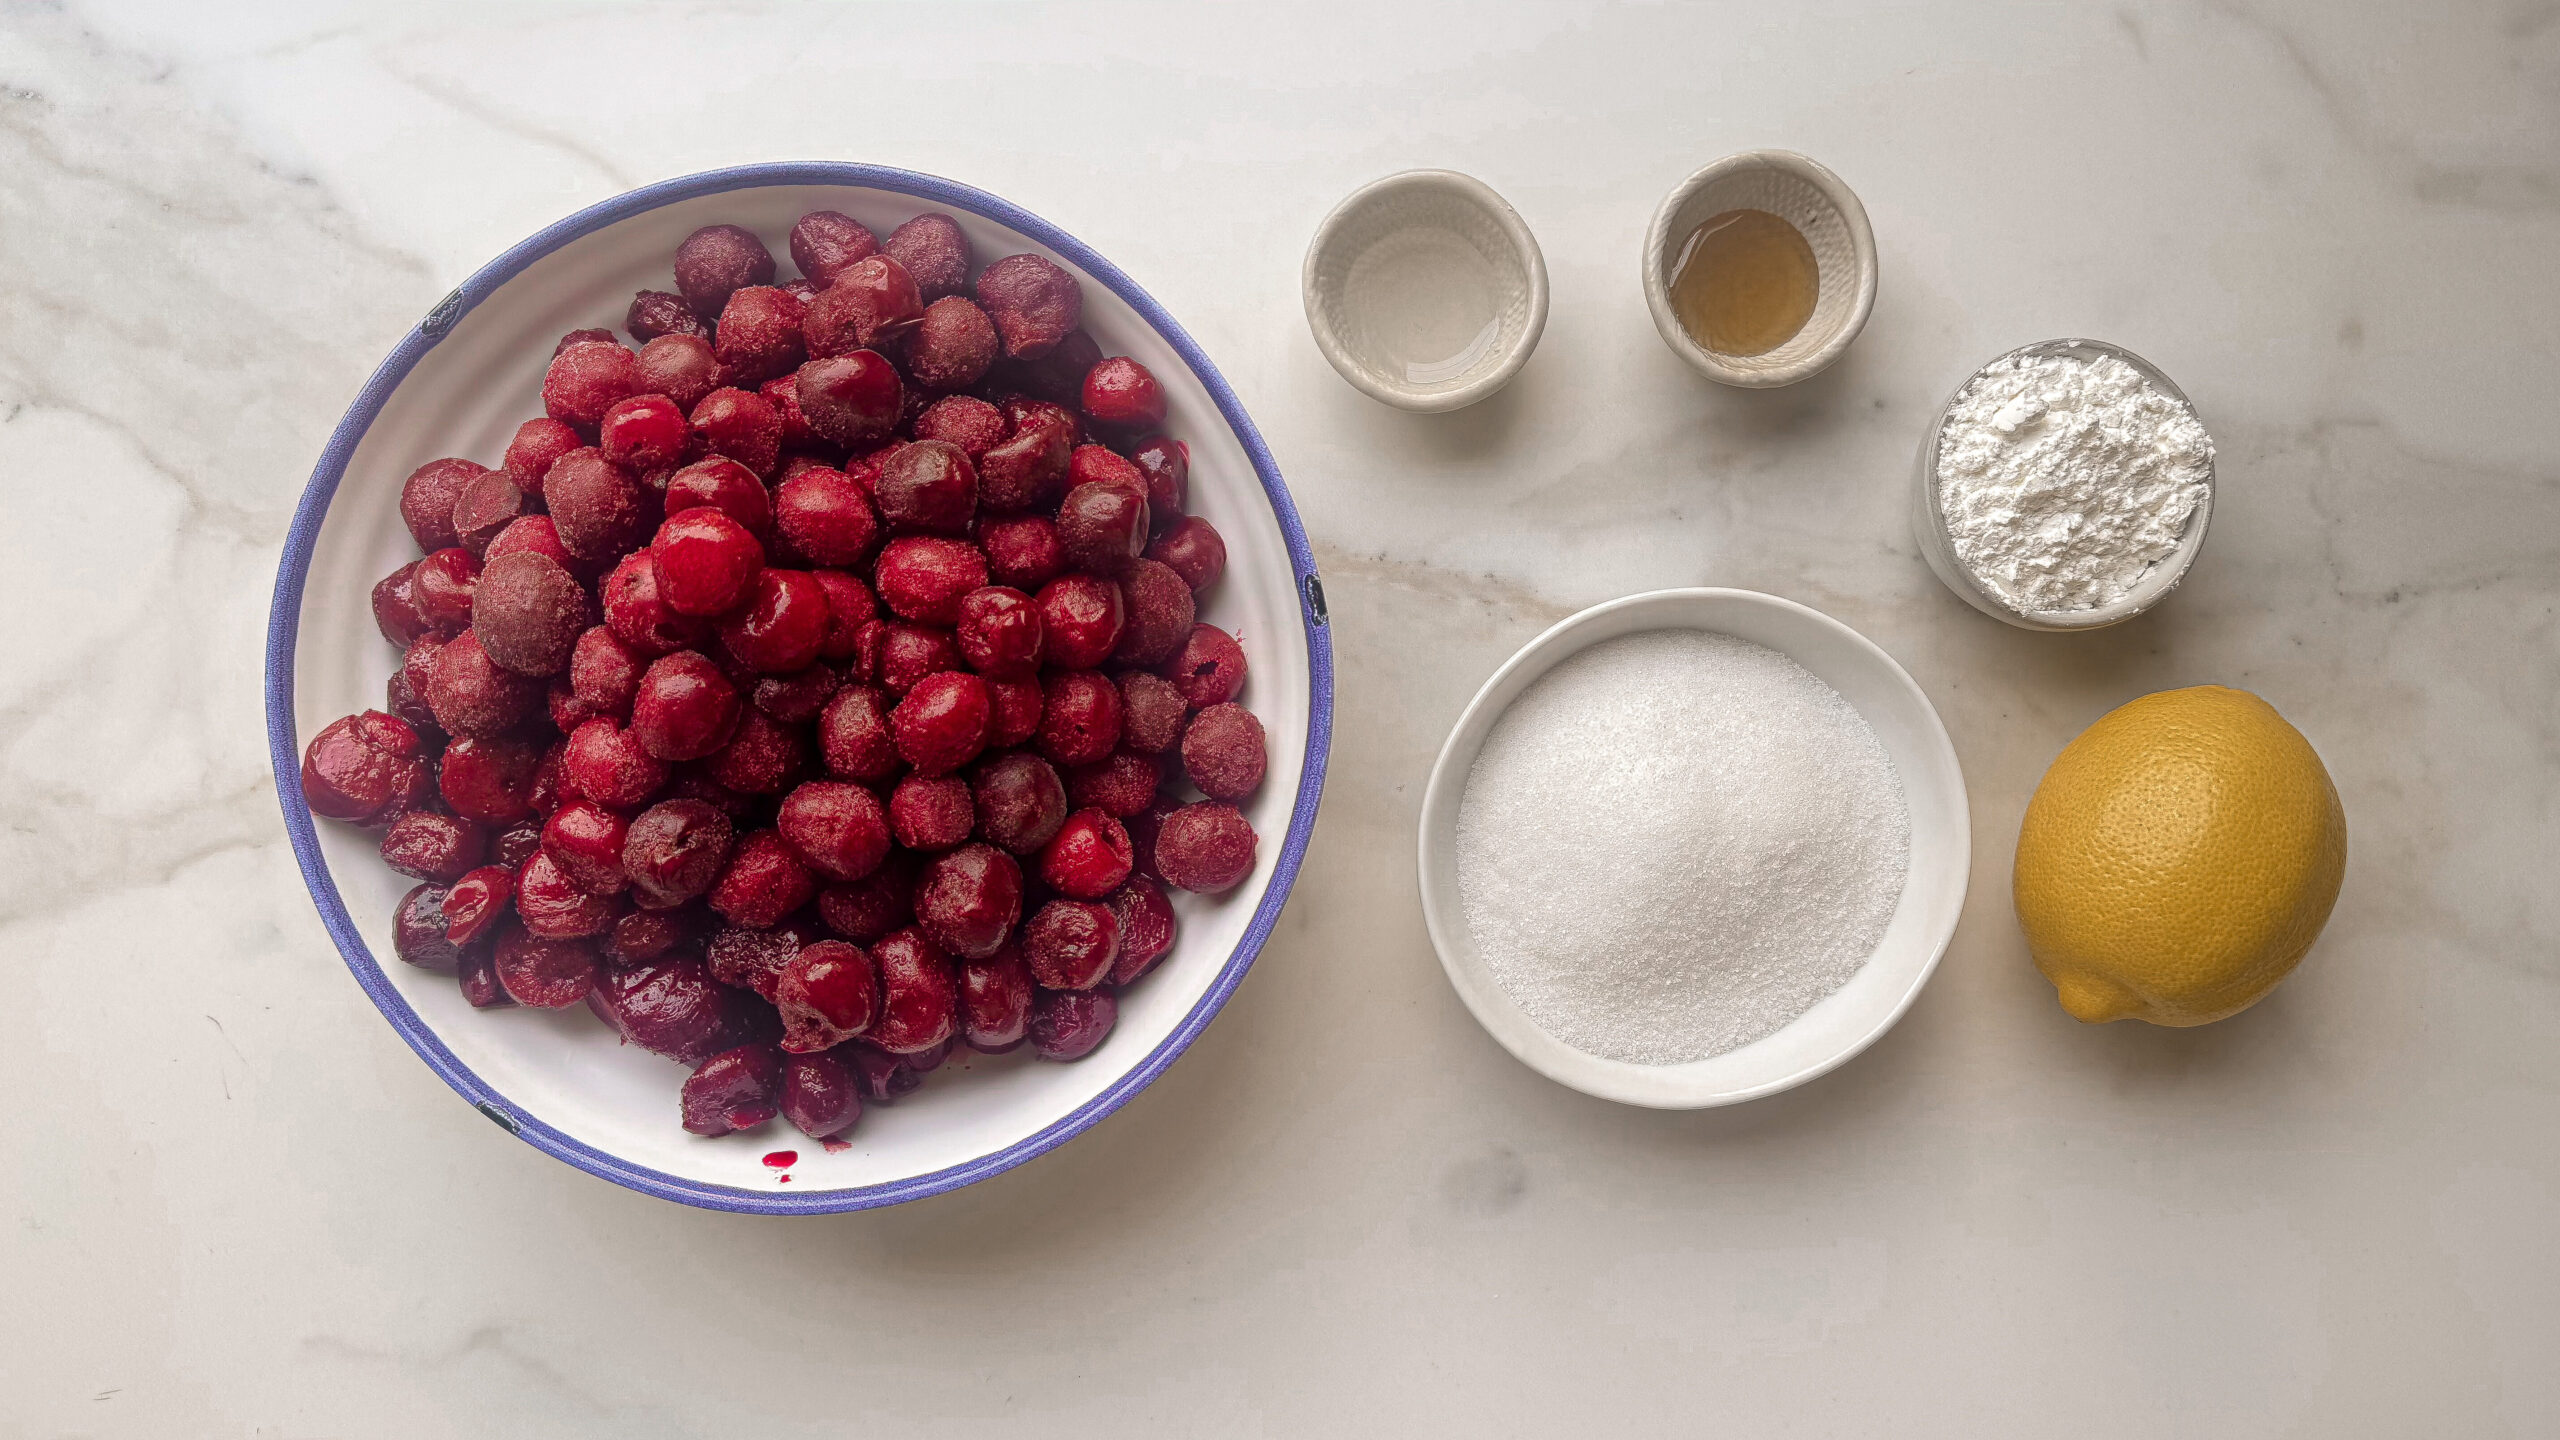
Frozen cherries: Convenient and consistent, frozen pitted cherries work particularly well for pie because their juices become part of the filling as they cook.
Cornstarch: Thickens the cherry juices so the filling sets once the pie has cooled.
Fresh lemon juice: Balances the sweetness of the filling and brightens the flavour of the cherries.
Vanilla extract: Adds warmth and rounds out the flavour of the filling.
Almond extract: Cherries and almonds naturally complement each other. Only a small amount is needed, as almond extract has a strong flavour.
Egg and milk: Combined to create an egg wash that helps the pastry bake to a glossy, golden finish.
Coarse sugar: Optional, but it adds a little sweetness and crunch to the top crust.
Alternative Ingredients
Fresh cherries: You can substitute fresh pitted cherries when they are in season. Depending on how juicy and sweet they are, you may need to make slight adjustments to the sugar and thickener.
Mixed berries: Replace some of the cherries with blueberries, raspberries or blackberries for a mixed berry pie.
Almond extract: If you don’t enjoy almond flavour, simply omit it and increase the vanilla slightly.
Butter: For the best flavour and texture, I recommend using butter. A good-quality plant-based block butter can be substituted for a dairy-free version, although the finished texture may vary.
All-purpose flour: A good-quality 1:1 gluten-free baking flour designed for pastry can be used, although gluten-free dough tends to be more delicate when rolling and creating the lattice.
Preparation Tips for Cherry Pie
- Keep Everything Cold: Temperature is one of the most important elements when making pie pastry. Cut the butter into cubes and freeze it for 10 minutes before starting. I also recommend placing the food processor blade in the freezer for 10–20 minutes.
- The aim is to keep visible pieces of cold butter throughout the dough. If the butter becomes completely incorporated into the flour, you won’t achieve the same flaky texture.
- Don’t Over-Process the Dough: Pulse the butter and flour together in short bursts rather than allowing the food processor to run continuously. Stop when you still have pea-sized pieces of butter visible.
- When adding the water, the dough doesn’t need to form a ball in the food processor. As soon as it begins to hold together when pressed between your fingers, it has enough moisture.
- Chill the Dough: Give the pastry at least one hour in the refrigerator before rolling. Chilling allows the dough to rest and firms the butter again, making the pastry easier to roll and helping it maintain its shape during baking.
- If your kitchen is warm and the pastry becomes soft while you are creating the lattice, place the assembled pie in the refrigerator for 15–20 minutes before baking.
- Cool the Filling Completely: Never add warm cherry filling to cold pastry. The heat will begin melting the butter before the pie reaches the oven, which can affect the texture of the crust.
- Bake on a Preheated Tray: Preheating a baking tray and placing the pie directly onto it gives the bottom crust an immediate burst of heat, helping it cook through and reducing the chance of a soggy base. It also catches any cherry juices that may bubble over.
- Let the Pie Cool: This may be the hardest part, but don’t cut into the pie immediately. The filling will be very fluid while hot and needs at least 2–3 hours to cool and set properly.
Serving Tips for Cherry Pie
- Cherry Pie is wonderful served slightly warm or at room temperature.
- A scoop of vanilla ice cream is the classic accompaniment, particularly if the pie is still slightly warm. You can also serve it with softly whipped cream, crème fraîche or a spoonful of thick Greek yoghurt for something less sweet.
- If the pie has been refrigerated, allow individual slices to come to room temperature or warm them gently before serving.
Storage Tips
Room temperature: Once completely cooled, the pie can be loosely covered and kept at room temperature for up to 1 day.
Refrigerator: Cover and refrigerate for up to 4 days. Allow slices to come to room temperature before serving or gently reheat them.
Freezer: The baked and completely cooled pie can be frozen for up to 3 months. Wrap it well before freezing and thaw overnight in the refrigerator.
Reheating: To bring back some of the crispness of the pastry, warm the pie or individual slices in a 170°C oven. Avoid microwaving when possible, as it tends to soften the pastry.
Cherry Pie
Ingredients
Pie Dough
- 3 cups all-purpose flour
- 1 tbsp granulated sugar
- 1 tsp salt
- 285 g cold unsalted butter, cut into cubes
- ½ cup ice-cold water, plus more if needed
Cherry Filling
- 800 g frozen pitted cherries
- ⅔ cup granulated sugar
- ¼ cup cornstarch
- 1 tbsp fresh lemon juice
- 1 tsp vanilla extract
- ½ tsp almond extract
To Assemble
- 1 egg
- 1 tbsp milk
- Coarse sugar, for sprinkling (optional)
Instructions
Prepare the Pie Dough
- Cut the butter into small cubes and place it in the freezer for 10 minutes. For an extra flaky pastry, place the blade of your food processor in the freezer for 10–20 minutes before you begin.
- Add the flour, sugar and salt to the bowl of a food processor fitted with the chilled blade. Pulse a few times to combine.
- Add the chilled butter and pulse in short bursts until the mixture resembles coarse crumbs, with some pea-sized pieces of butter still visible. Do not over-process the mixture. Those small pieces of cold butter are what help create a flaky pastry.
- With the processor running on low, gradually drizzle in the ice-cold water. Add only enough for the dough to begin coming together. It should still look slightly crumbly rather than forming a smooth ball inside the processor.
- Turn the dough out onto a clean work surface and gently bring it together with your hands. Divide into two equal portions and shape each into a flat disc. Wrap in cling film and refrigerate for at least 1 hour.
Prepare the Cherry Filling
- In a large saucepan, combine the frozen cherries, sugar, cornstarch, lemon juice, vanilla extract and almond extract.
- Cook over medium heat, stirring regularly, for about 8–10 minutes, until the cherries have released their juices and the mixture has thickened.
- Remove from the heat and allow the filling to cool completely before assembling the pie.
Assemble the Pie
- Preheat the oven to 200°C. Place a baking tray in the oven while it preheats.
- Remove one disc of dough from the refrigerator. On a lightly floured surface, roll it into a circle large enough to line a 23 cm (9-inch) pie dish.
- Carefully transfer the pastry to the pie dish and gently press it into the base and sides. Avoid stretching the dough. Trim the edges, leaving a small overhang.
- Spoon the completely cooled cherry filling into the pastry shell and spread evenly.
- Roll out the second disc of dough. Cut into strips and arrange over the cherries to create a lattice, or leave it whole for a classic double-crust pie. Trim the excess pastry and crimp the edges to seal.
- Whisk together the egg and milk. Lightly brush the pastry with the egg wash and sprinkle with coarse sugar, if desired. If using a full top crust, cut a few small slits in the centre to allow steam to escape.
- Place the pie dish onto the hot baking tray and bake for 20 minutes.
- Reduce the oven temperature to 180°C and continue baking for 30–40 minutes, until the pastry is deeply golden and the cherry filling is bubbling.
- Remove from the oven and allow the pie to cool for at least 2–3 hours before slicing. This gives the cherry filling time to set and makes the pie much easier to serve.
- Serve on its own or with a scoop of vanilla ice cream.
Notes
- Keep everything cold. Freeze the cubed butter for 10 minutes and the food processor blade for 10–20 minutes before starting.
- Use ice-cold water. Warm ingredients can soften the butter before the pastry reaches the oven.
- Don’t over-process. Stop while you can still see small pieces of butter in the dough.
- Don’t add too much water. Add just enough for the dough to hold together when pressed.
- Give the dough time to rest. Chilling the pastry allows the butter to firm up again and helps prevent the crust from shrinking as it bakes.
- Cool the filling completely. Adding warm filling to cold pastry will begin melting the butter before the pie reaches the oven.
- Let the baked pie rest. It may be tempting to cut into it immediately, but allowing the pie to cool gives the filling time to thicken and set.
Did you make this recipe?
Tag @cookingwithzahra on Instagram and hashtag it #cookingwithzahra so we can see all the deliciousness!